How Much Does It Cost to Produce a Podcast?

It's important for anyone who wants to start a podcast to be aware of the costs and rates associated with editing and producing them. There are a lot of different ways to go about editing your podcasts, and each one comes with its own set of expenses.
At Cleanvoice, a tool that uses AI to automatically unwanted podcast noise, we'll be giving you a rundown of the podcast editing rates you can expect, along with a guide for getting the services you need at your current budget.
Let's get started!
What is the average cost of producing a podcast?
In case you're only curious about the raw data, we'll start by answering this question upfront.
If you self-produce your podcast, you can expect your monthly expenses to range from $0—$100 per episode. This number will depend on the editing software you use and the number of tools you subscribe to.
If you outsource podcast production, you can expect to anything from $15—$15,000 per episode depending on the services you need and the editor you go with.
If you're curious about why the range for outsourcing production is so massive, keep reading!
Do you need to outsource podcast production?
The first question you'll need to answer as you're thinking about outsourcing the production of your podcast is whether it's something you actually need to do. Your answer to this question will depend on a variety of factors, including:
- Budget: Can you afford to outsource podcast production following standard podcast editing rates?
- Workload: Do you lack the time to edit your podcast?
- Complexity: Does your podcast require high-level edits?
If you answered yes to some or all of these questions, outsourcing your podcast production might be the right move.
If you answered no to any of these questions, taking some time to improve your podcast editing skill set might be a better option. Luckily, there are tons of resources to help you out:
Best Podcast Production Courses & Resources
- Professional Podcast Production, Editing & Blueprint ($20.99): This Udemy course is a great place to start if you want to learn about podcast editing. It covers topics like interviewing, recording, mixing, and distribution.
- Audacity For Podcast Editing ($25.99): Another Udemy course, this time focusing on Audacity—an open-source digital audio workstation (DAW) for podcasts.
- Producing Podcasts ($27.99): This LinkedIn Learning course may be short, but it definitely packs in a ton of valuable information about producing high-quality podcasts. If you're short on time, this is the course for you!
- Audacity Podcast Production: Audio Editing For Podcasters ($45/month): This Podcast Academy course is designed to help beginner podcast producers get acquainted with Audacity.
- No BS Tips On Podcast Editing (free!): In this article, we cover some in-depth tips that will help you become a better podcast editor. Great for supplementing other courses and materials!
- The Only Podcast Editing Software Stack You’ll Need (free!): This article offers podcasters advice about choosing the best podcast editing software based on their goals and experience level.
If you're still curious about outsourcing podcast production and editing, we'll be explaining the process in greater detail in the sections to come.
What does a podcast editor do?
Podcast editor is an extremely fluid role that encompasses a huge array of different services. With that being said, there are a few services that the majority of podcast editors will be familiar with, including:
- Audio Processing: Manipulating audio characteristics to achieve the desired sound and feel (e.g., EQ, noise reduction, mixing, mastering, etc.)
- Audio Editing: Editing the structure of podcast episodes to improve flow, clarity, and narrative (e.g., removing mistakes, reordering clips, adding music, etc.)
- Video Editing: Getting video recordings ready for publications (e.g., color grading, transitions, etc.)
- Transcription: Converting spoken content into written text for publication.
In addition to differences in the services offered by editors, there are also differences in their editing styles and philosophies.
Some editors are comfortable making light edits like cleaning up obvious mistakes and reducing background noise. Others are capable of making high-level edits that transform the narrative structure of your episodes.
DIY Podcast Editing: Cost, Process, and Tools
If you're on a tight budget or enjoy the hands-on approach, DIY podcast editing can be a great option. While it requires time and effort, it allows you to keep production costs low and gain complete control over your audio. Here's what you need to know:
Cost of DIY Podcast Editing
The cost for DIY editing can range from $0 to $100 per month, depending on the tools and software you choose. The main expenses you'll incur are:
- Software: Free options like Audacity or GarageBand are available, while more advanced options like Adobe Audition come with a subscription fee (approximately $23/month).
- Equipment: If you don’t already have a good-quality microphone and headphones, you may need to invest in these, which can cost anywhere from $50 to $500 for a decent setup.
- Plugins and Tools: Some additional noise reduction, EQ, or mastering plugins may cost between $20 to $200.
Process of DIY Podcast Editing
- Recording: Start by recording your podcast on a good quality microphone in a quiet environment to minimize background noise.
- Importing: Once recorded, import your audio files into your chosen editing software.
- Cleaning the Audio: Use noise reduction tools to remove background hums, clicks, and static. This is a crucial part of DIY editing, as it helps produce a more professional sound.
- Editing for Content: Cut unnecessary pauses, stutters, or filler words. This is where your editing skills come into play, especially if your podcast has multiple segments or interviews.
- Adding Music and Effects: Insert intro/outro music and sound effects, adjusting volume levels for a consistent listening experience.
- Mastering: This is the final step, where you ensure your podcast is at a professional volume level and free from distortion.
Tools for DIY Podcast Editing
Here are some recommended tools that can make the DIY process smoother:
- Cleanvoice AI (Paid): For an additional speed boost, Cleanvoice’s AI tool automatically removes unwanted sounds like filler words, stutters, and background noise, saving you time and effort.


- **Audacity (Free): A popular open-source audio editor, Audacity offers a wide range of features for editing, cleaning, and mastering podcasts.
- GarageBand (Free for macOS users): A great choice for beginners, GarageBand provides a simple, user-friendly interface with essential editing tools.
- Adobe Audition ($22.99/month): An industry-standard software that provides advanced editing, mixing, and noise reduction tools, ideal for those who want more control over their sound.

- Reaper ($60): A cost-effective yet powerful alternative to Adobe Audition, Reaper offers advanced features and supports plugins.

Is DIY Editing Right for You?
DIY podcast editing can be a fantastic way to save money if you're comfortable with audio software and have the time to invest in editing each episode. However, it can also be time-consuming, and the results depend on your skill level.
If you find the process overwhelming or your podcast requires more complex editing, it might be worthwhile to explore outsourcing or using AI tools like Cleanvoice to enhance your audio quality.
How much does it cost to hire a podcast editor?
So, how much does it cost to outsource podcast editing and production? The answer to that question depends on a lot of different factors, such as the length and complexity of your podcast, the level of editing and production you want, and the company you go with. That said, we can give you a general idea of the range of costs you can expect.
When it comes to outsourcing your podcast production, you have two main options available:
Podcast Editing Agencies
Podcasting editing agencies are companies that offer a range of podcast editing and production services. These companies vary in size significantly—some are relatively small operations and some employ hundreds of editors and producers.
The services offered by these companies also vary, but typically they offer some combination of the following: editing, production, mixing, mastering, music, and sound effects.
Podcast editing agencies usually subscription-based. You typically select a package based on the services you want, the number of episodes you'll need edited per month, and the average length of the episodes.
To help give you a sense for the price ranges you can expect, let's look at a real world example:
PodPanda
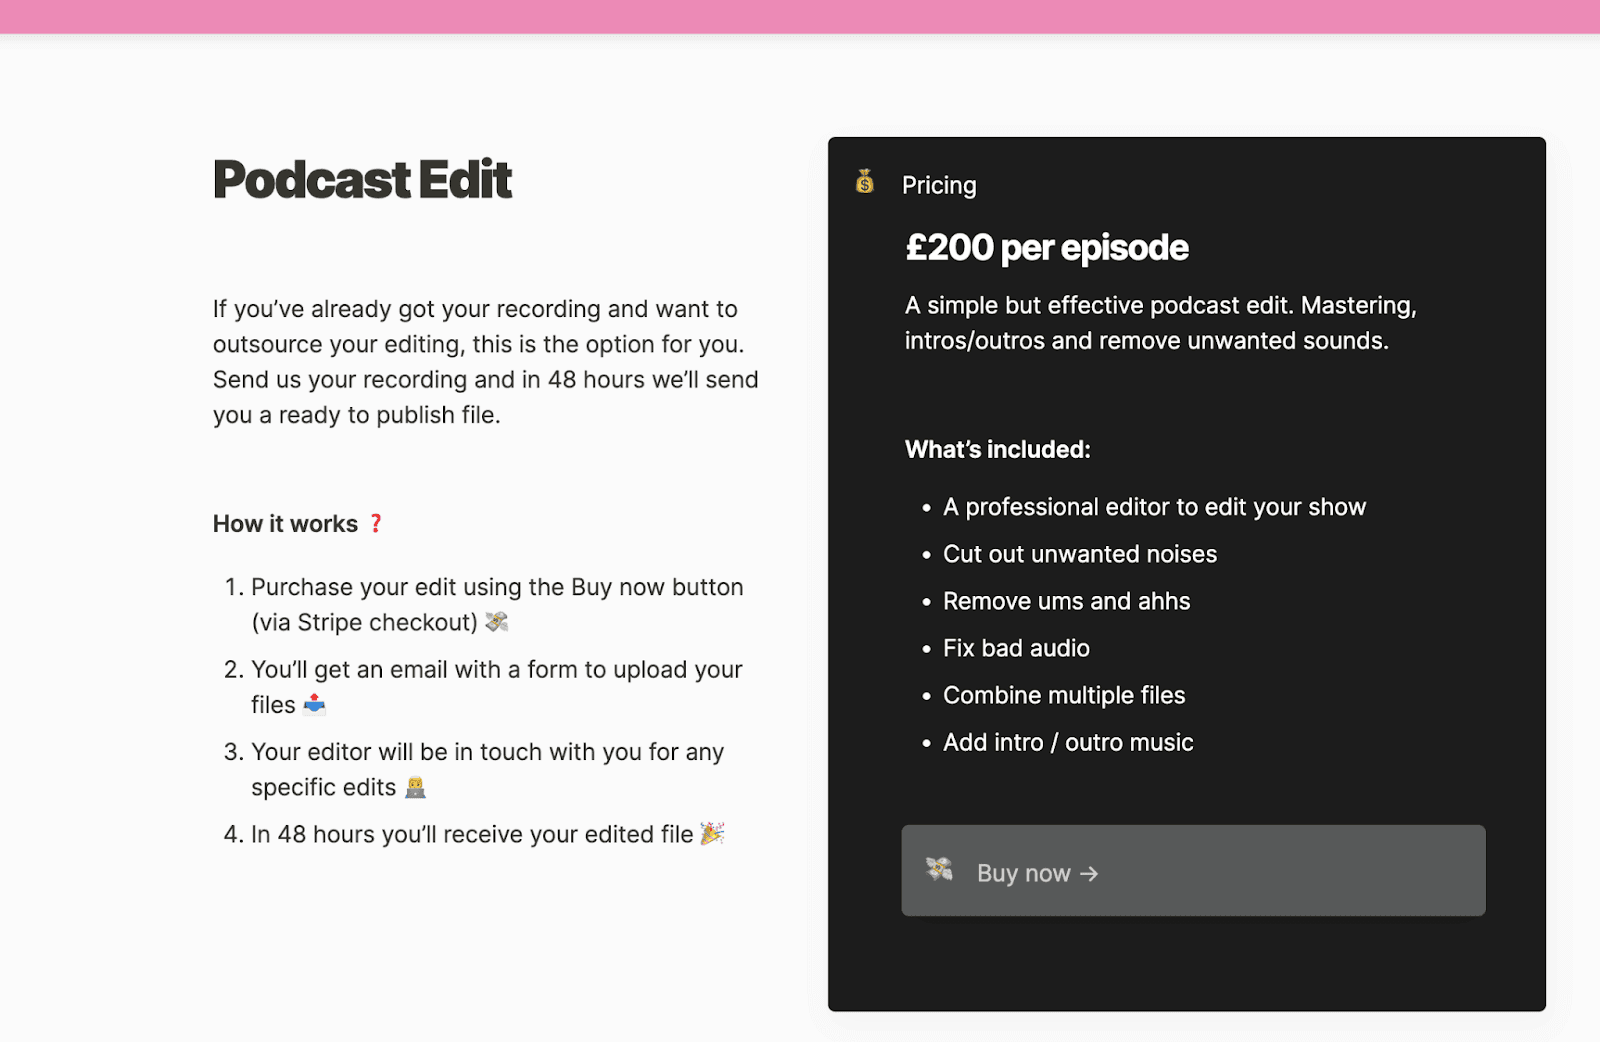
PodPanda is a boutique podcasting agency run by James McKinven, an expert podcaster who’s successfully run successful podcasting shows on entrepreneurship, and the agency offers an all-inclusive podcast editing service for £200 per episode. The price may be steep for many, but it’s a full-suite service that can take hours to complete.
Resonate Recordings
Resonate Recordings is a podcast production agency that provides a wide range of editing services at price points that are fairly standard within the industry. In terms of pricing, they offer four tiers:
- Standard Package ($59 per episode): With this package, podcasters can expect mixing, mastering, ID3 tagging, noise reduction, as well as intros and outros.
- Premium Package ($139 per episode): This package adds to the services of the previous package, offering mistake removal, dead air removal, and filler word removal (psst… Cleanvoice AI automatically removes all of these annoying audio blemishes for a fraction of the price).
- Enhanced Package ($199 per episode): With this package, podcasters are treated to advanced services like 1-week delivery.
- Enterprise Package ($349 per episode): This tier is perfect for large operations. It comes with a dedicated account representative and production team, along with priority delivery.
As you can see, there's a wide rage of service offering and price points available to choose from. However, even the cheapest of these options will likely be stretching the budgets of most small-scale podcasts. If that's the case, you may want to consider a freelance podcast editor.
Freelance Podcast Editors
If you're looking for a more custom approach, you can also hire a freelance podcast editor. Freelance editors can be found through online marketplaces like UpWork and Fiverr, or by contacting podcasters directly.
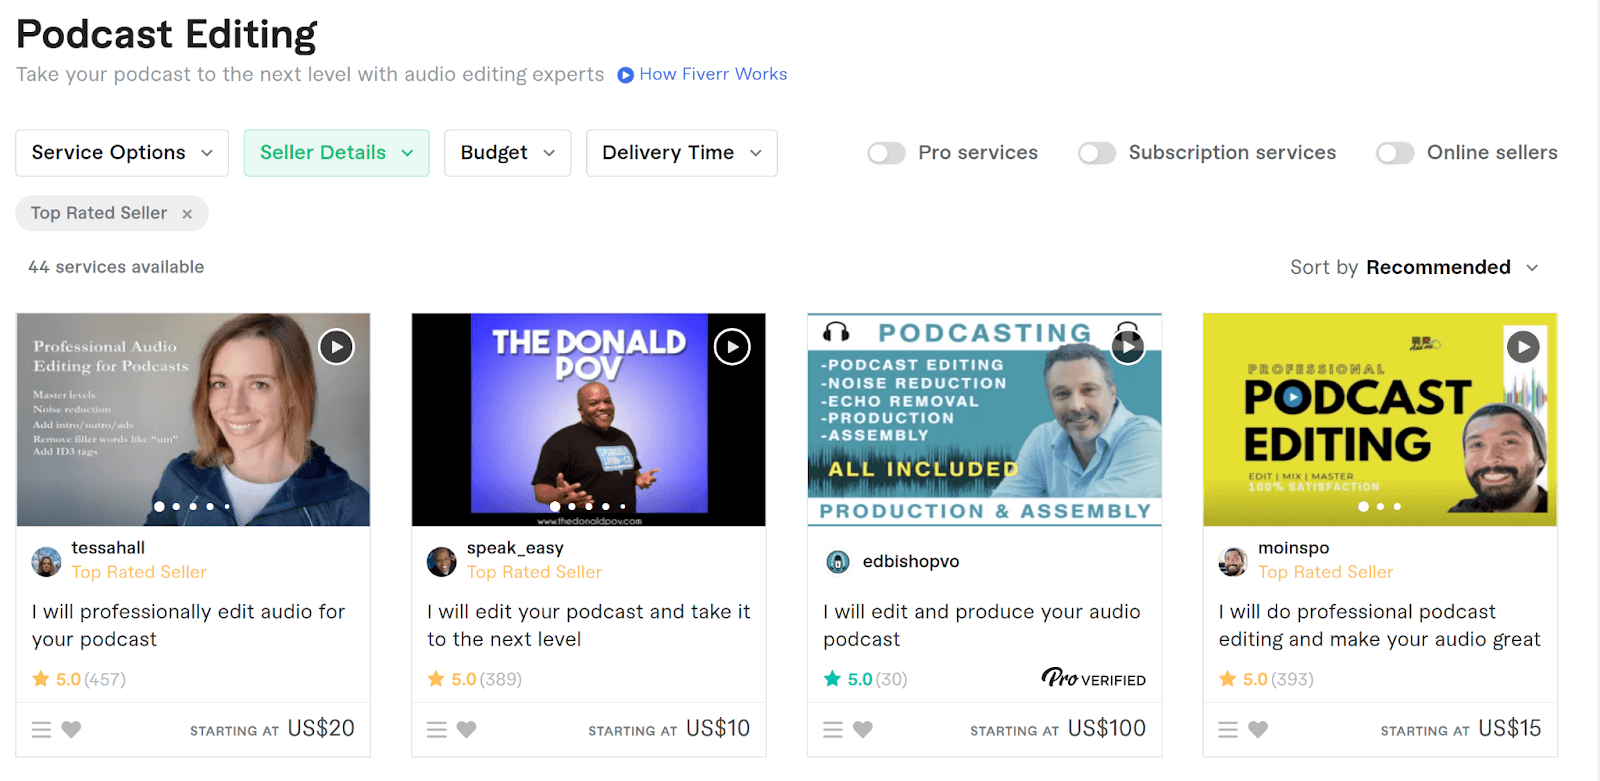
Prices for freelance editing services vary significantly. To get a sense for what to expect, it helps to break typical podcast editing rates down by seller experience:
- New Sellers: New sellers might be expert podcast editors that are simply new to the freelancing platform you found them on. Regardless of their experience, their podcast editing rates will be lower than more experienced sellers. Expect to pay between $15 and $20 per hour of audio.
- Standard Sellers: Mid-level sellers have the reviews to back up their higher rates. With that being said, they're usually still affordable. Expect to pay between $30 and $50 per hour of audio.
- Top Sellers: These are the most experienced podcast editors on a given platform. They have a track-record of satisfied clients, so be prepared to spend a bit more. Prices generally fall between $50 and $200 per hour of audio.
How do you find a great freelance podcast editor?
Clearly, there's a wide range of podcast production costs when you outsource to freelancers. While this makes freelancers a viable option for all kinds of budgets, it's important to remember that there's also variation in terms of quality.
Here are some tips for finding a great freelancer:
- Be diligent about reading reviews. One of the best features of many freelancing sites is the ability to read reviews from past clients. Positive reviews are great, but make sure you check out the negative reviews, too. They often give you clues about how a person operates when things don't go according to plan!
- Ask to see samples. Most freelancers are happy to provide samples of previous work to potential clients. Be sure to give them details about your show so that they can give you samples that are relevant in terms of style or content!
- Don't prioritize delivery speed. Unless you need to your podcast episodes edited and delivered in a few days, don't make it a priority when looking for a freelance editor. Focus on the quality of deliverables instead.
Wrapping Up
In conclusion, outsourcing your podcast editing and production is a great way to get high-quality work done without spending a fortune. However, it's important to remember that not all editors are created equal, so do your research before making a decision. And, if you're on a tight budget, there are plenty of ways to save money on the editing process.
Happy podcasting!


